
Wednesday, January 11, 2012
Multi - Seasonal Tree
Several years ago I bought a red barked manzanita branch that had been sprayed white and had a plywood bottom screwed onto it. Actually I traded some of my crafts for it but that is neither here nor there. When I first brought it home I used it only for Christmas. I have snow flakes and crystals that I put on it. I found that if I added white stringed lights that it gave it a real punch. Usually people admire it way more than my regular tree which isn't to shabby. Anyway every time I put it away it got damaged. I was loosing more and more little branches. So one year I decided no more - it's going to stay out all year long. So the 'seasonal tree' was born. Today Valentines Day. Really need a better Camera :) Enjoy!

Monday, January 9, 2012
Kitchen Idea
So I have been having trouble with silverware taking a dump in my disposal in the sink. So I pondered what to do to stop the madness. Also I really hate having silverware everywhere in my sink so . . .


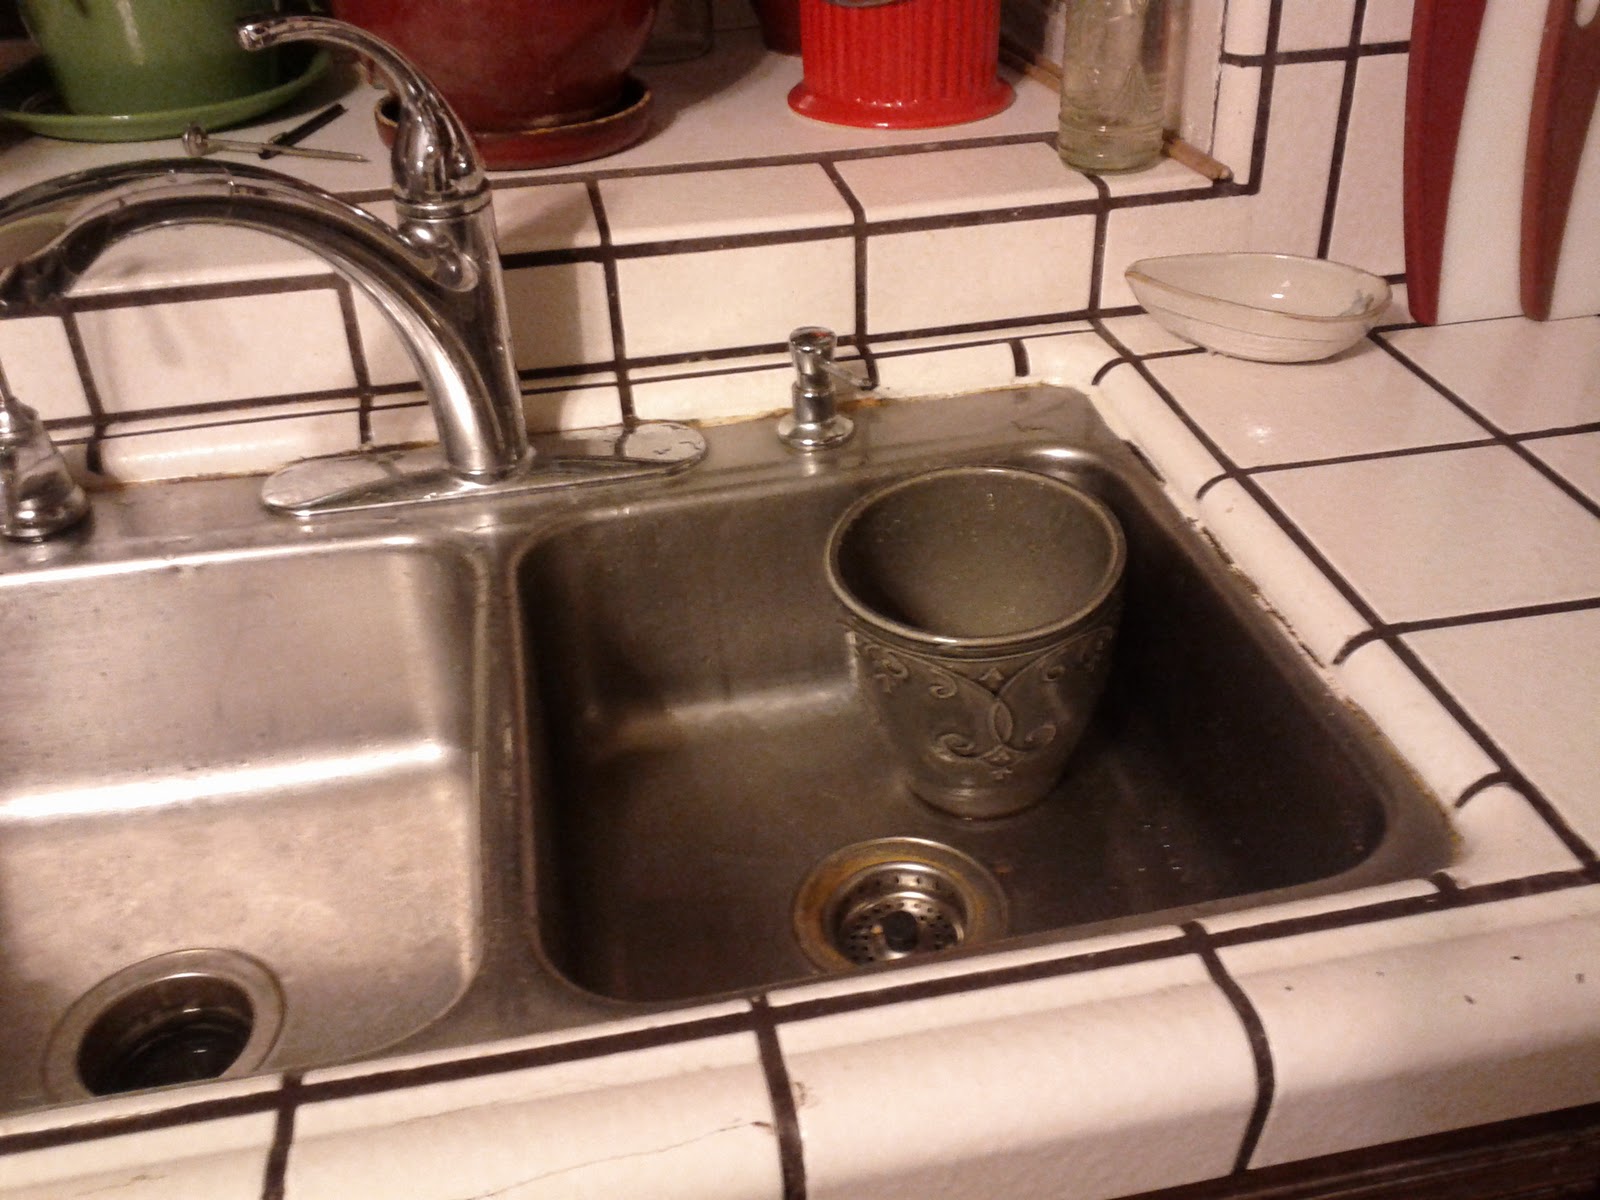
So I found this flower pot at the local 'shop for less' place and put it in the sink. It has no hole in the bottom so that the water will soak the silverware. It's also the color of the sink and it's glazed really well so that it will repel water (some pots soak it in) which will keep mold, as an issue, at bay.

Please ignore the dishes. But look all the silverware in the pot. Worked! Enjoy!
Wednesday, January 4, 2012
Getting Organized! The Honey Do List.
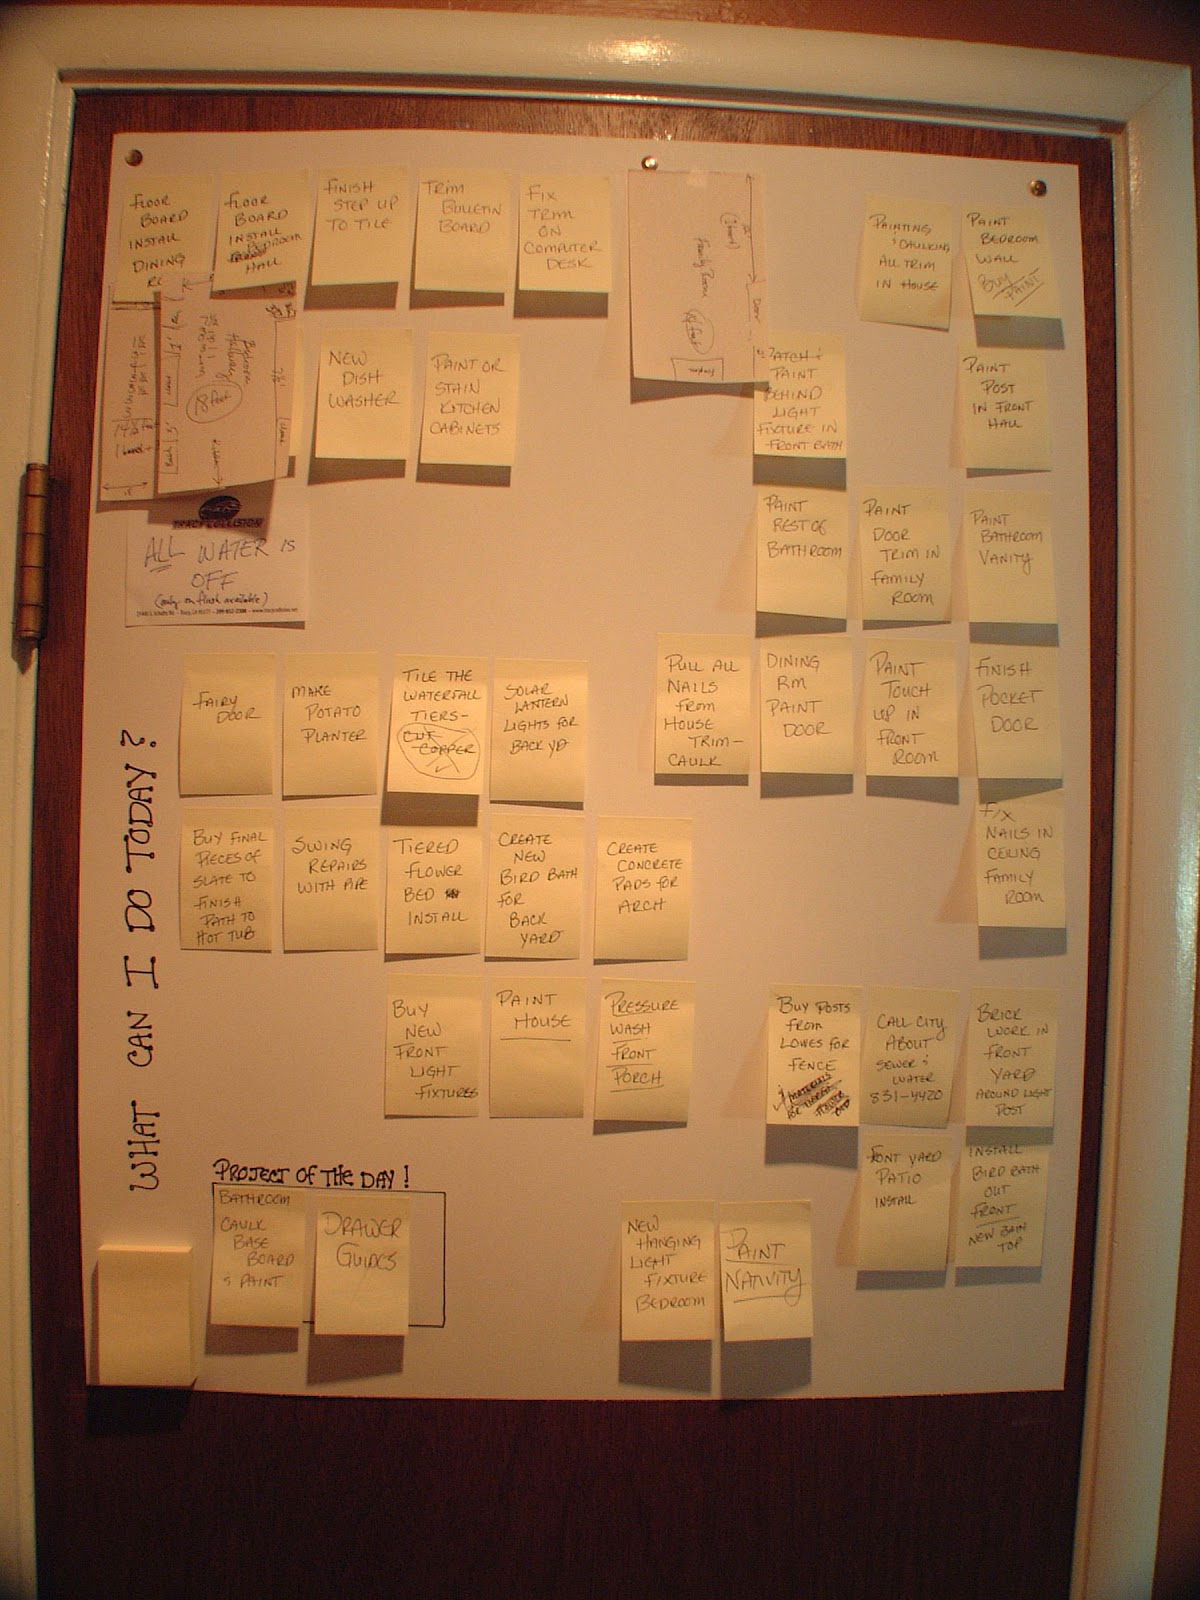
We have way to many projects and my sweet husband, Jeffery, is always saying what can I get done today. We have tried various lists to keep ourselves on task but they just get lost in the shuffle. So I came up with an idea. It's a 'What Can I Do Today' list using post it notes. That way we can add and subtract from our list without any mess. Sorry the photo is a bit dark (I may have to replace that). The little square at the bottom says 'Projects of the Day'. It helps keep us on task. The whole thing is on a piece of poster board and thumb tacked to a door. I even glued a post it note pad to the bottom corner for easy adds to the list. Enjoy!

My Crazy Bulletin Board Wall
Several years ago I realized that those tiny little bulletin boards they sell at the store were totally too small for all the things I wanted to post. So with the help of my family we came up with a design that fills the hallway with a bulletin board. It's made with a piece of masonite, 12 x 12 cork boards, fabric and glue.


It really wasn't that hard but it wasn't a weekend project either. We started out with a piece of masonite that measured 4' x 6'. Which my husband screwed to the wall - into the studs. We decided to first put a piece of masonite on the wall so that if we ever decided to remove the bulletin board then it would be a simple matter of tearing off the squares and then unscrewing the board from the wall. A quick patch of the holes and the wall would be good as new.
Then the kids and I did various drawings with the idea that we would be using 12" x 12" cork boards from Walmart to create the pattern. I didn't want sheets of cork. I wanted the ability to make it 'art work' in my hall and Walmart had the cheapest 12" x 12" cork pieces (they sell them in packages of 4).
Once the pattern was decided on it was off to our local fabric store to see what we could come up with. The decision was blue, orange, brown and neutrals. The fabric squares had to be 16" x 16" so I would have enough edge to wrap around behind the cork square. And since some of the design was on an angle I had to sew some of the squares so that they were half one color and half another. Then everything was ironed and I got out the spray glue.
Now you really have to glue in an open area. Trust me on this one. Don't try this in your home. Take it outside on a clear, windless day. Each Cork board was sprayed with spray glue. Then with two people work together, we lifted each fabric square by the corners and slowly lowered it to the cork. Then I pushed out any wrinkles and we were good to go.
After everything dried I then hand glued the extra fabric around the back using tacky glue. This took a lot of time. Once everything was dried then it was time for the mounting on the masonite. I spread a LOT of tacky glue on the masonite and then we applied the squares. Yes, they do have a tendency to try and fall off at first. So we used masking tape and taped from the wall under the board to the wall over the board. And then one of us just stood there for the better part of 1/2 an hour pushing each square firmly against the wall.
Finally after all this dried we are 'supposed' to put a piece of quarter round trim around the board (still on my list). But I think it looks great and is finally big enough. Enjoy!
Subscribe to:
Posts (Atom)